Mark Hemmings: Five tips for better smartphone photographs
Author: Mark Hemmings (BA'96)
Posted on Jan 25, 2021
Category: UNB Saint John , Insights
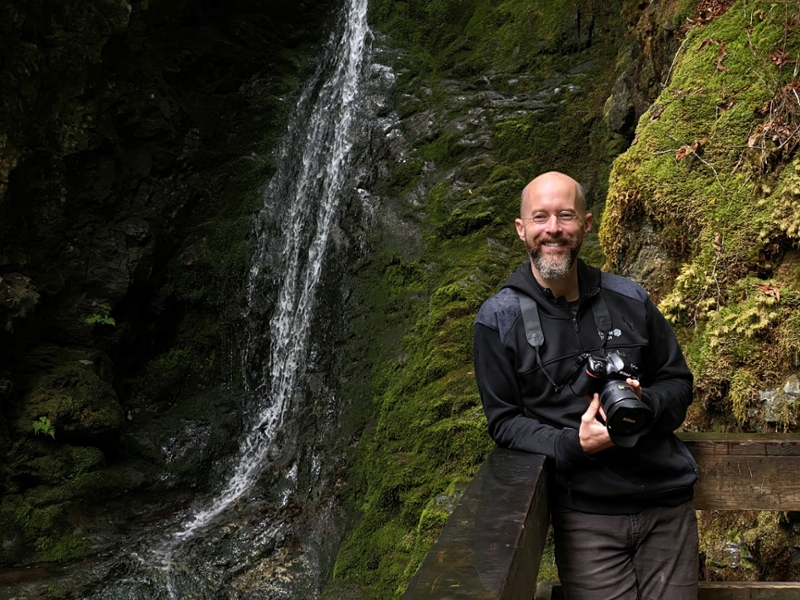
For over two decades Mark Hemmings of Mark Hemmings Photography Inc has been creating photographs for clients both nationally and around the world. Mark’s (pre-COVID-19) annual international photo workshops have been held in Japan, Italy, Mexico and the Caribbean. These workshops began in 2005, and have been geared toward beginner and intermediate hobbyist photographers using any type of camera, including smartphones.
Mark’s notoriety as an expert in smartphone photography began in 2012 when he decided to regularly post his iPhone international travel photos to his popular Instagram profile. This in part lead to a 2017-2018 contract to create iPhone photography online courses in Riga, Latvia, for the world’s largest iPhone photography training company. As a result of his time in Latvia, he was asked by Wiley Publishing to write a “For Dummies” series book titled "iPhone Photography For Dummies". The book has been selling extremely well world-wide and is also available at local bookstores such as Indigo.
Tips for brilliant smartphone photographs
Whether a good thing or bad, most of us always carry around a smartphone pretty much everywhere we go. That means that we also have a decent camera with us all the time, so why not keep your creative muscles flexed by giving yourself a “One-photo-per-day” challenge? I have 5 tips for you to help you create better photos each day, using your Android or iPhone:
1. Clean your lens
One of the biggest complaints that I get is as follows:
“I don’t get sharp photos, they turn out soft and not punchy!”
I can almost guarantee that your smartphone lens is chock-full of fingerprints. Every time you grab your phone from your pocket or purse there is ample opportunity for your lens to become coated with grime. Your photos will improve tenfold by doing a simple and quick cleaning prior to taking an important photo. If you wear glasses simply use your lens cleaning clothe and wipe your smartphone lens in a gentle, circular motion. If you don’t wear glasses your local eyewear store will often give you a cloth for free as they advertise their store on the cloth. Pro-tip: As tempting as it is, don’t clean your lens using your t-shirt! I’m guilty of this . . .
2. Hold your smartphone properly
When the light becomes lower in the sky, or when you are indoors, your smartphone has to work much harder to get a good shot. The term “camera shake” refers to any camera that produces un-sharp photos due to the camera not being stable. While it’s not practical to use a tripod all the time, you can mitigate camera shake by doing one very easy photography best-practice: hold your smartphone as close to your upper body as is visually comfortable. While it’s true that if you are far-sighted this may be difficult, but when we hold our smartphone with arms fully extended, our camera’s stability is at the mercy of how strong and stable our arms are. If you bring your smartphone in closer to your body, you will increase the stability of your smartphone camera. Essentially, bring your smartphone screen as close to your eyes as possible, based on your near-sighted abilities. With your elbows angled you’ll get a more stable ‘platform’ for your camera compared to your arms being fully extended.
3. Learn how to underexpose
The term ‘underexpose’ with regard to taking a photo refers to you choosing to make the scene darker prior to taking the picture. If your scene or portrait subject has blotchy white spots because of very high contrast light, underexpose your photo just prior to taking the picture. This slight underexposure will reduce the botchy ‘blown-out’ highlights, making the highlights look better with more detail. The problem that results from this of course is the rest of your photo may become too dark. Simply go to your photo editing tools and increase the Shadows. You will see a slider in your photo editing app called Shadows, and by adjusting this slider you will be able to have proper exposure in both the Shadows and the Highlight areas. To underexpose your scene prior to taking the photo, simply press your smartphone screen for about two seconds, and then you can make your composition brighter or darker with the swipe of your finger.
4. Crop instead of zoom
Most people know about the zoom pinch-in and pinch-out technique. This is a way for your smartphone to mimic a traditional zoom lens from a DSLR or mirrorless camera. The problem with most pinch zooms is that the further you zoom in, the worse your photos look. Your smartphone artificially expands your photo’s resolution which can result in a blotchy, non-sharp image. I suggest an alternative. Instead of zooming in to get that distant object closer, take the photo normally and then afterward crop your photos tighter using your crop tool. While it’s true that cropping a photo reduces height and width dimensions, you get the advantage of normal image sharpness compared to artificial digital height and width expansion. There is an exception to the above however. I’ve tested out the iPhone 11 series and their artificial zoom, which goes all the way up to 10x, and looks almost as good as using the crop method. So if you have an iPhone 11 or newer, feel free to pinch and zoom as much as you like. The newest Android cameras from 2020 and newer probably have similarly excellent pinch to zoom results.
5. Use the Adobe Lightroom CC app
If you own an iPhone 11 series or newer, or a pro model Android from 2020 and newer, you can probably ignore the following. However if you have an older model smartphone you may get better results by using the Adobe Lightroom CC mobile app camera, which can photograph in what is called the RAW format. Lightroom’s RAW format is called DNG, short for Digital Negative, and it's a very powerful format that allows you a lot of editing latitude. Instructions on using the fantastic Lightroom camera app is too long for this short article, however I give full instructions on how to operate this camera app within my Bell TV1 series that you can view on my YouTube channel called "Discover Smartphone Photography!". If you are a Bell TV1 subscriber, you can also view my instructional TV show by tapping here, or by doing a search for “Discover Smartphone Photography!” on your Bell Television TV1 channel.
If you have any questions about any of the above, always feel free to get a hold of me at any of the links below. And if you would like to learn photography from me within the context of an online course, here are my online photography course options. Have fun with your photography!
Email - mark@markhemmings.com
Website - www.markhemmings.com
Travel Photo Portfolio - www.markhemmings.myportfolio.com
Instagram - @markhemmings
Facebook - markhemmingsphotography
YouTube - Mark Hemmings Photography School